
|
There are only 5 real steps to do, but eight
are shown (some are reference steps). They are simple, once you
understand, and you will be able to create these really fast
and quick like Grendel.
|
 |
|
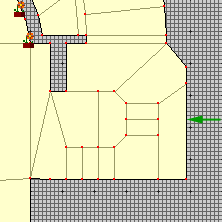
Step I. The side that this method will
cover is the one being pointed at with the green arrow here.
This side will be refered to as "The Wall".
You don't need to prepare anything in this technique, the
only thing you really need is to have the room constructed before
you make the dual texture on a wall or walls.
|
|
|
|
 |
|
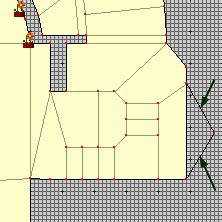
Step II. Draw one or two lines that
will create a polygon that boarders the wall you wish to put
the dual texture on.
Why only one or two? Because anymore would be a waste of your
time, for they get removed at the end of this method.
|
|
|
|
 |
|
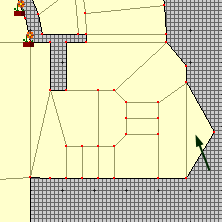
Step III. Fill in the polygon. Do not
adjust this polygon's height in draw mode at all. Well for that
matter, don't adjust anything else on it in draw mode either.
This polygon will be temporary and will not be left after the
method is done.
Now go to visual mode for the next steps.
|
|
|
|
 |
|
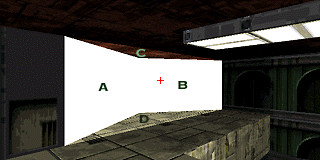
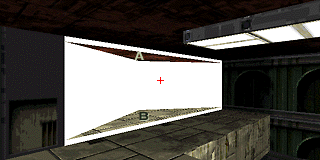
Step IV. The new polygon should have
white walls and defaulted textures for the floor and ceiling,
like this one shown.
There is no need to change any of the textures or lights on
the surfaces A, B, C and D. Leave them alone, don't mess with
them because it will be a waste of time if you do.
|
|
|
|
 |
|
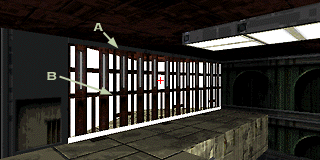
Step V. Using capslock, pull down the
ceiling marked A, ONE TICK. That is all you need, nothing more.
Pulling it down further might make the texture harder to align
later.
|
|
|
|
 |
|
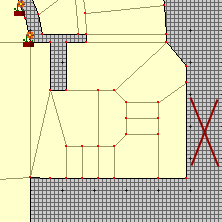
Step VI. Now texture the two areas
labeled A and B. Area A is the front side exposed after pulling
down the ceiling. This is what the behind texture will be. Area
B is the transparent texture on that side.
To place a transparent texture, you use the shift key and
click where the side is, sometimes moving up to it to place the
texture is needed.
|
|
|
|
 |
|
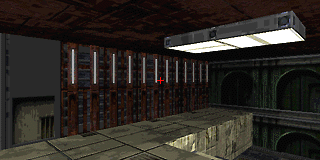
Step VII. Go back to draw mode and
now delete all the lines you created for the temporary polygon.
By deleting the lines, it will delete out the polygon also.
This is wanted. Just make sure not to delete the polygon of the
actual room, or delete the side that you just made this texture
on.
|
|
|
|
 |
|
Step VIII. Back into visual mode, make
sure that what you did is correct, and make any texture alignments
as you see fit.
In order to align the transparent texture, you have to do
it BEFORE you delete the polygon that created it. You can align
the backing texture anytime after you do this method, so you
do not have to worry about the backing texture.
|


|