
|
|||
|
| The Battle Cat's Split Poly Light Wall feature something never before seen in Marathon, texture lighting that changes as it goes DOWN a wall rather than just across. This is very easy to do once you get the hang of these new fangled polys. |
|
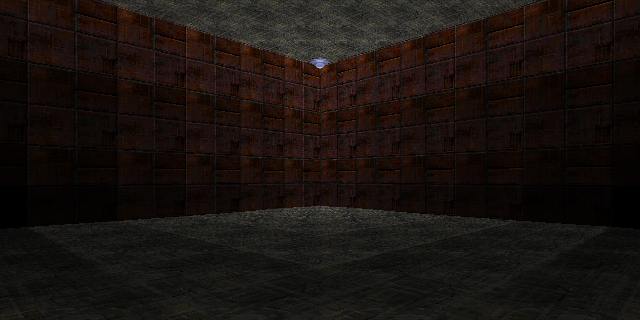
Simple Light Wall |
|
| You can download an example map (4K) of this light wall. You do not need to put as many split polys into it as I did, I went overboard for this demonstration. A light change every 0.25 or 0.5 world units is plenty and you can get away with far less if you make the top ceiling changes small and the lower ceiling changes larger. What ever trips your trigger pardner, experiment, make some thing appropriate for your scenario. |
|
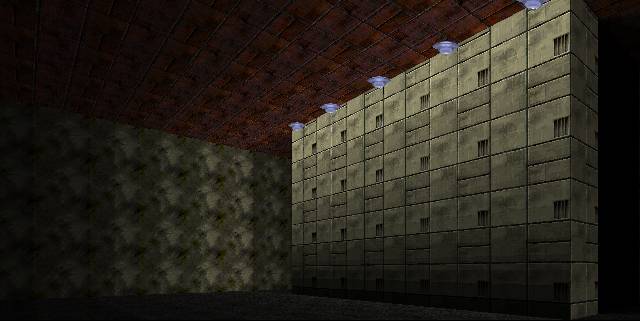
Complex Light Wall |
| Suppose you want to put a light in a corner on the ceiling. You would have to have texture lighting that not only gets darker as it goes down the wall but it also gets darker as it goes ACROSS the wall. This is not a problem as you can see from the above graphic. By adding another layer of complexity to the simple light wall we can easily make the light get darker as it goes diagonally down a wall. You need to make a room that somewhat resembles the one below. Draw your split polys with extra vertices, fill them, change their ceiling height, and close them as shown. Use the simple light wall algorithm above to construct it with the changes outlined below. |
| As touched upon in the Complex Split Poly discussion, the Battle Cat's Split Poly does not have to be a triangle. It can be a trapezoid or a pentagon, any more in this exact usage with the underlying vertices will give you the "too many vertices" error when you try to fill it. In other uses these split polys can be up to an octagon like any normal poly. Here I am using another trapezoid, notice that each vertices along the wall will demark a location along that wall that will accept a unique texture/light. This is how you break the wall down into differently lit sections going across the wall. Combined with this and the different ceiling heights, you can create a diagonal lighting. In this example map you can see what I have done. Go into the level and look at the light object. The texture light behind it is zero. I started by the scenery light object and went across the wall along the ceiling progressively making the wall darker. Next I dropped down to a lower split poly beneath the scenery light object and set my light darker than the light on the split poly above it. As I went across the wall I made the light darker from this starting light value. I continued in this fashion until I reached the bottom split poly and the entire wall was lit properly. Download an example map of this technique. (4K) I could have continued this technique on the other 2 walls but this is a demo, I will leave that extra touch of realism for when I am actually creating a map for release. You don't have that excuse. |
![]()
![]()